Creating a Resource Library in WordPress is a brilliant way to organize your content, curate resources, and make it easier for your visitors to find information on your site. Whether you are providing downloadable PDFs, audio files, or images, having a dedicated library on your WordPress website is a great way to keep your content organized. This step-by-step guide will walk you through the process of creating a Resource Library in WordPress, from setting up a dedicated page to customizing the library page for your needs. With this guide, you will be able to easily create a professional and organized library on your WordPress site in no time. So, let’s get started!
If you’re looking for a surefire way to grow your email list, then you can’t go wrong with starting a resource library! Not only is it a great way to share digital resources with your site visitors, but it’s also a great opportunity to get those all-important email addresses. So what are you waiting for? Get your library going today!
Related Post: 5 Proven Tips on How to Get More Email Subscribers

What is a Free Resource Library?
A Free Resource Library is a collection of templates, documents, and other resources that allow users to download them for free. It can include PDFs, Canva templates, pdf resources, and any other types of resources that are useful tools you think your audience might find valuable. The library usually contains a wide range of different items that can be used to customize the look and feel of a website.
Most document libraries also provide detailed instructions on how to use their resources so that users can easily learn how to customize their websites. The library also often includes helpful tips and tricks that allow users to get the most out of the freebie you provide. Overall, Free Resource Libraries are an invaluable tool for anyone wanting to grow their audience and email list.
Why You Should Make a Free Resource Library?
Creating a free resource library is an excellent way to provide valuable information and content to your audience in an organized and efficient way. Not only is it beneficial to your visitors who have opted to have access to the freebie library, but it also adds tremendous value to your business or website. It allows you to provide exclusive resources that are relevant to your industry, which can help you establish your authority as a leader in the field.
Additionally, having a WordPress resource library can help to build trust with customers, as they will appreciate having access to reliable resources, at no cost. Furthermore, a free media library can help to build relationships with your audience, as it can be a great source for collaboration and dialogue. Ultimately, it is a great way to add value to your business and build relationships with your audience. Personally, who doesn’t love free stuff right?!
Here are some ideas of content you can include in your digital resource library:
- Templates – share exclusive canva templates
- Checklists and guides related to your niche – such as launching a product, how to guides…
- Tutorials and videos – such as a how to tutorial or guide
- Toolkits and software – share graphic design assets, project management tools, and productivity apps you use and recommend.
- Webinars – share a webinar on a specific topic that’s related to your specific niche
- Case studies – share case studies you’ve done that might be useful.
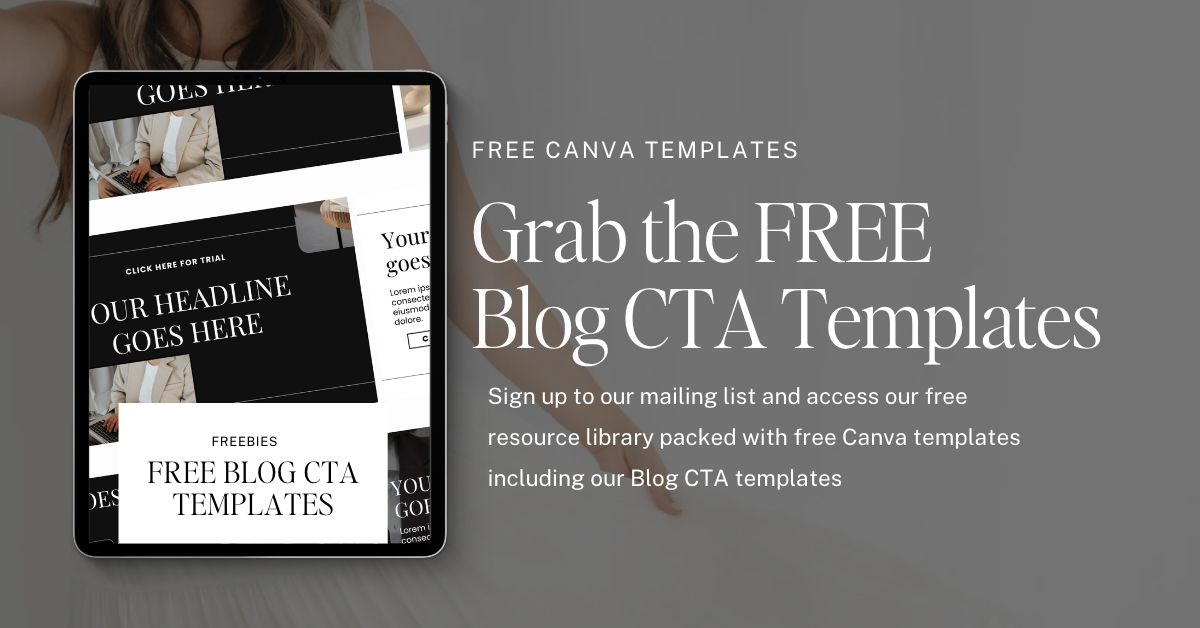
>> Take your Pinterest game to new heights with our exclusive Canva Template! Get access to our Free Resource Library today! <<
How to Add a Free Resource Library to Your WordPress Website?
Adding a resource library doesn’t have to be tricky! Here are the super simple steps to get you on your way. It’s so easy, even a lemon squeezy!
Step 1: Create a Password Protected Page in WordPress for Your Resources
The next step is to create a private page by ensuring its a password-protected page in WordPress for free resources is an easy way to secure your content and protect it from the public. Firstly, you will need to create a page in WordPress. This can be done by selecting ‘Add New’ from the Pages section in your WordPress dashboard. Once you’ve created this new page, you can add any type of content that you would like to include on your private page such as pdf documents, templates, or videos. Finally, you can easily protect this page by setting up a password for it. To do this, you will need to go into the Page Settings section and click the Visibility button – then select ‘Password Protected’ from the dropdown menu. Now no one will be able to access your resources without first providing the correct password – making sure that your content is kept safe and secure!
Step 2: Design a Structure for Your WordPress Digital Library
Next, you need to sit down and think about the design structure for your online resource library page. To begin, you will need to choose a WordPress template that fits the purpose of your Digital Library. To help with this process you can then be created with one of the many WordPress builders available like Elementor or Divi Theme Builder. Each builder allows you to customize and add elements to your page, such as images and videos so that it looks visually appealing and professional. These tools make it easy to add a digital resource library in WordPress like a pro. Once you know how you want your resource library for your website to look, using additional plugins might not be necessary. Add tools like a search button to make it easier for your users to find content, especially if you planning on adding more content to your document library.
Step 3: Upload Your Free Resources
Once you have selected your free resources and designed them using Canva, the next step is to upload them. This can be done in various ways, such as Dropbox or by creating space on your website. Dropping the files in Dropbox will provide a download link that can be shared with potential customers who are interested in downloading your free resource. The same applies if you create space on your website, and it’s up to you to decide which one is more suitable for your needs. Either way, uploading the materials will ensure they are easily accessible to anyone who wants them. Once uploaded, it can take some time for search engines like Google to index the content, so be sure to use relevant keywords when naming the files and adding associated metadata.
Step 4: Publish Your Resources Page
Once you have finalized the content and design of your resources page, it is time to publish it to the public. This step involves making sure that all the necessary information is included and that there are no errors in the final product before it goes live. You should also consider making any necessary changes or adjustments based on feedback from users or other stakeholders. Once everything is ready to go, you can publish your resources page and make it available for people to access and use. With the right approach, your resources page will quickly become a helpful resource for visitors looking for more information about your business or organization.
Step 5: Make Your Resources Searchable and Shareable
Lastly, Make your resources searchable and shareable. This means making sure that your resources are easily discoverable and accessible, both through online searches and through sharing them with your audience. It also means using metadata tags, such as keywords, to make sure that the right people can find your content when they search for it. A no-brainer is also to consider making use of social media platforms like Pinterest and Instagram to help spread the word about your resources, ensure you add a link to your resources to increase their visibility even further. With these steps in place, you’ll be able to ensure that more people have access to your materials, helping to maximize their potential impact.
In conclusion, creating a resource library in WordPress is a great way to organize and display your content in an easy-to-navigate way. By following this step-by-step guide, you can create a resource library in WordPress that can help you attract more visitors and guide them to the content they’re looking for. With a few simple steps, you can have your own resource library up and running in no time.
PIN FOR LATER ↓
WANNA READ MORE?








This post is such a wealth of information, Candice! I love your resource library and definitely see how it would be useful to have one of these!!
Hope you’re having a great week! 🙂
https://www.makelifemarvelous.com/